Posts by Concreteva.com
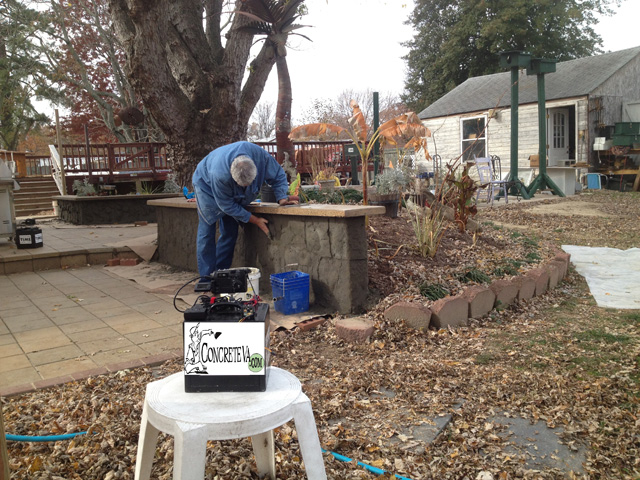
Concrete Sitting Wall Framing- The Beginning
This is a job we started about two weeks ago. I collaborated with the owner on the design and layout. Here we have decided to use block as the retaining wall/sitting bench. There is approximately 80 feet of wall. There are going to be two patios an upper and a lower. As you can see…
Read MoreStamped Patio Richmond Va
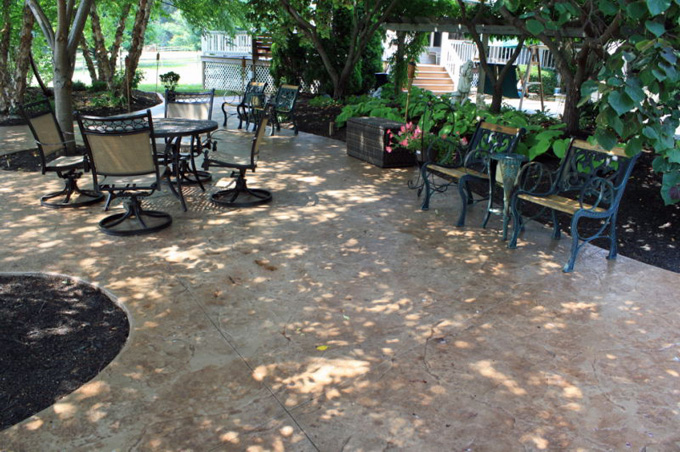
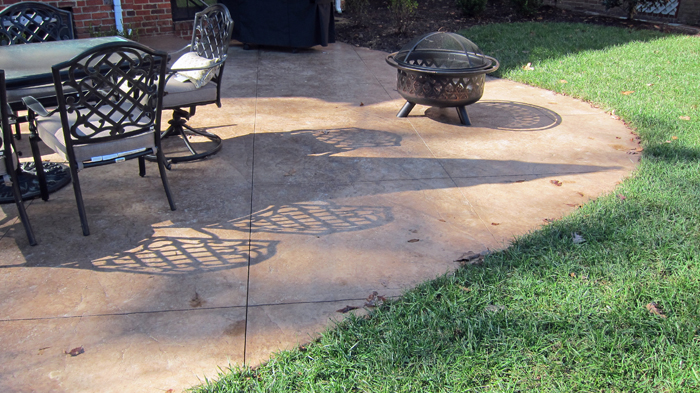
I’ve been eager to see the pictures of this stamped patio. We completed it approx. 2 months ago. With the homeowners assortment of beautiful plants, shrubs, and flowers. Along with the nice tables, chairs and benches it really looks nice. This is a two tone color using a slate texture mat. The colors came out…
Read MoreConcrete Counter Tops by Concreteva.com

Stamped Concrete and Concrete Counter Tops How do these two items go together? They go together in a couple of ways. Stamped Concrete takes a lot of dedication. First is the pride of our work force. Stamping concrete takes a lot of focus and dedication from our employees to do the job correctly. Details, details,…
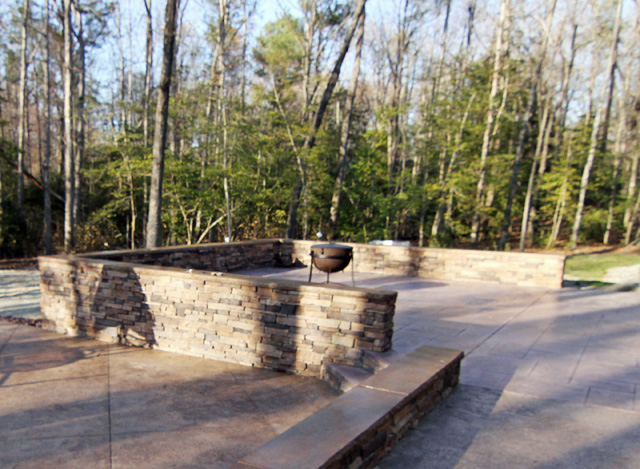
Read MoreConcrete Sitting Wall

Concrete Sitting Walls are a great addition for a patio or focal point in your yard. Let me describe to you how we install our walls. We start by digging a footing. This allows it to be stable from weather variations. This will give your wall longevity and durability. We then form our walls to…
Read MoreStamped and Textured Concrete Patio
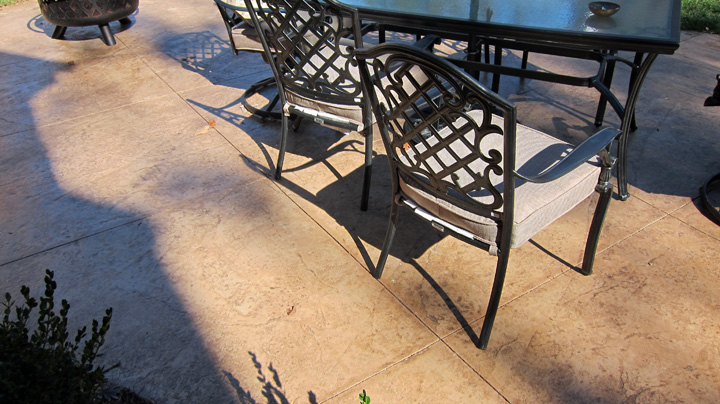
Stamped Concrete Patio Stamped Concrete Patio with texture and to add a little pizazz to it we saw cut the concrete into 4 foot squares. Stamped Concrete Patio or Textured Concrete are two of your choices. There are hundreds of Stamped Concrete to chose from. The texture in this Stamped Concrete Patio photo is slate. The texture…
Read MoreStamped Concrete Driveway
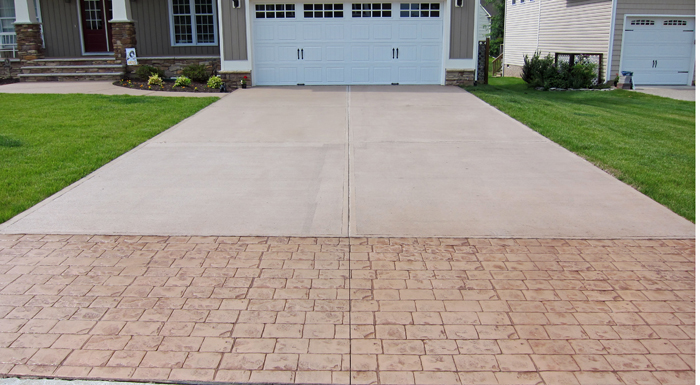
London cobble apron with a broomed driveway body. The color is Hayfield with brown accents. The broomed driveway is done in hayfield also. What I like about this driveway is that it goes very nice with the house. The color, style and finish. It’s not…
Read MoreConcrete Sitting Wall
Concrete Sitting Walls are a great addition for a patio or focal point in your yard. Let me describe to you how we install our Concrete Sitting Wall: We start by digging a footing. This allows the sitting wall to be stable from weather variations. This will give your Concrete Sitting Wall longevity and durability.…
Read MoreStamped Concrete Close Up Picture

Stamped Concrete looks nice. Look at the detail and color variations you can get with stamped concrete. This is called Yorkshire Cobblestone, we use this stamp for driveways, patios, sidewalks and sometimes as accents. I like the stamps that we use, they have realistic textures and are top notch. There are a ton of stamps on…
Read MoreStamped Concrete Patio and Fire Pit
Stamped Concrete Patio and a Fire Pit. Oh yea, it is only the beginning for you. What I mean by the last statement is the fun starts after your patio and fire pit are done. Oh, let me see, two, three days tops and you can have this in your back yard. Perfect for any…
Read MoreStamped Concrete What is the Cost?

I can almost with a fact tell you that stamped concrete is less expensive than pavers. I do know a little about the cost of pavers, but being that concrete is my business there may be someone out there that will tell me hogwash, this, that and the other. I just got off the phone…
Read More